
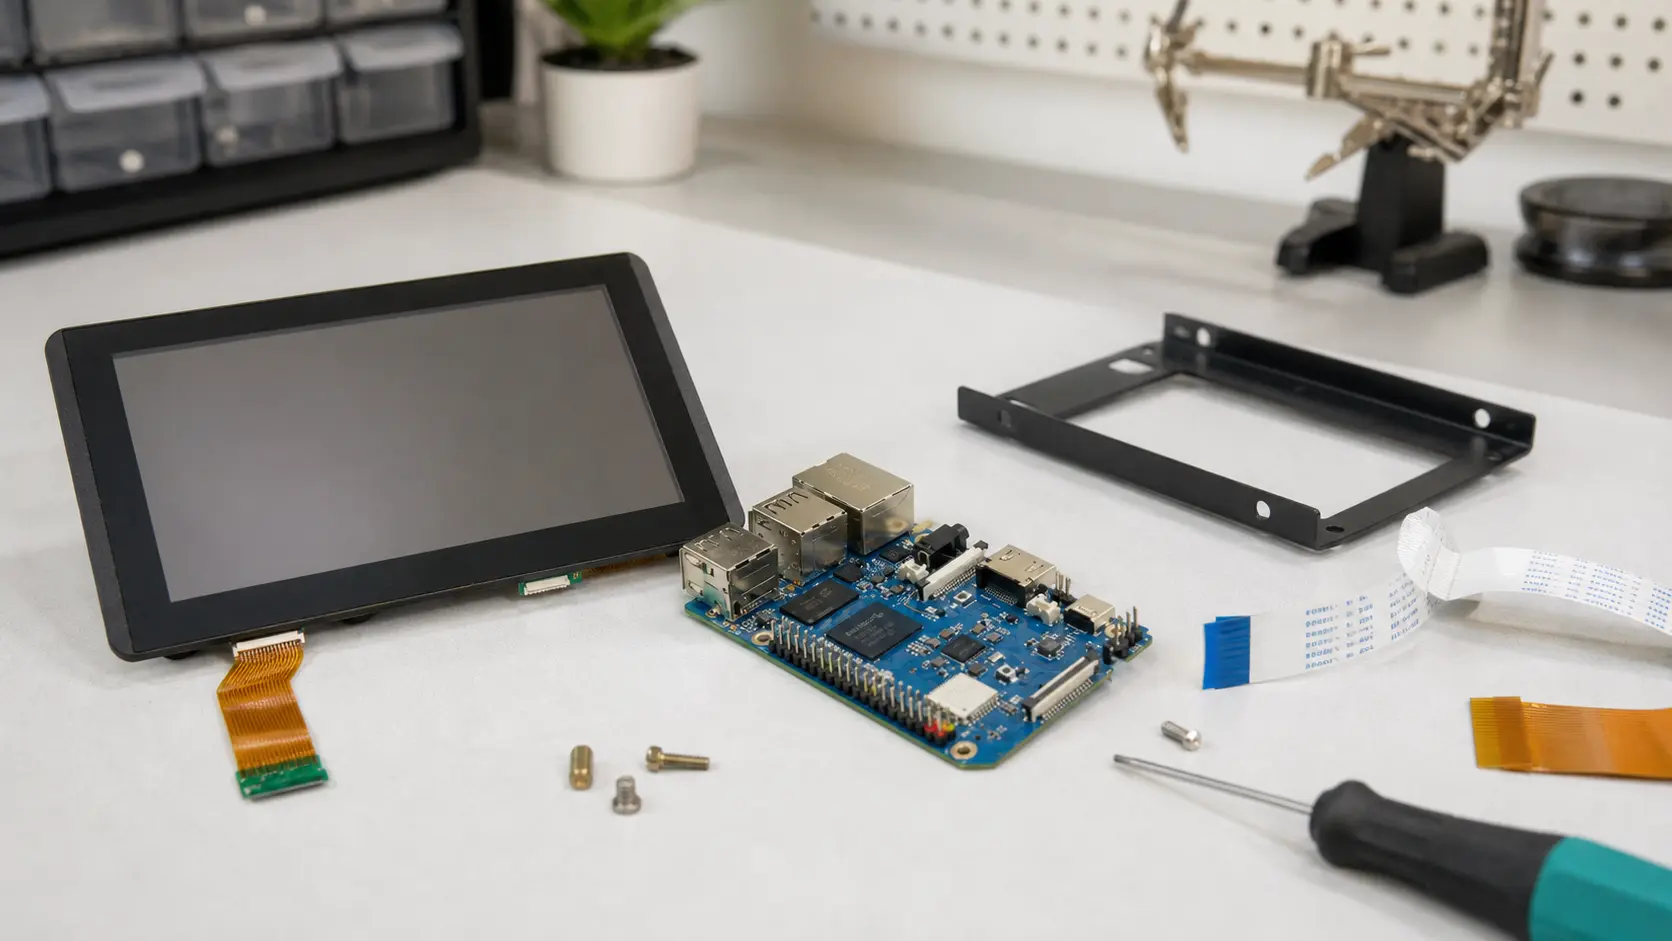
Touchscreen technology has become an essential component in modern embedded systems, especially for devices running Android on Single Board Computers (SBCs). Whether you’re building a smart kiosk, industrial control panel, or consumer IoT product, integrating a touchscreen display can dramatically enhance usability.
This guide covers the selection, connection, and configuration process, ensuring that your Android board and touchscreen work seamlessly together.
1. Understanding Touchscreen Technologies
Before you start, it’s important to know the two most common touchscreen types used in embedded Android projects:
- Resistive Touchscreens – Use pressure-sensitive layers; cost-effective, but less responsive and lower in clarity. Suitable for gloves and stylus use.
- Capacitive Touchscreens – Detect touch via electrical signals; highly responsive, supports multi-touch, and offers better image quality.
For modern Android SBC applications, capacitive touch is usually preferred due to its smooth user experience and compatibility with gesture-based interfaces.
2. Choosing the Right Display for Your Android SBC
When selecting a touchscreen for your Android board, consider:
- Interface compatibility – Common options include MIPI DSI, LVDS, and HDMI for display; I²C or USB for touch signals.
- Resolution and size – Match the display to your application’s needs. Higher resolutions provide better UI clarity but may require more GPU power.
- Brightness and contrast – For outdoor or high-ambient light environments, choose a high-brightness display.
- Power requirements – Ensure the board’s power output can handle the display’s needs.
- Driver support – Verify that the Android BSP includes drivers for your display and touch controller.
For projects where Android SBC vs Linux SBC decision-making is still pending, you can explore Android SBC vs Linux SBC to understand which environment better suits your display needs.
3. Hardware Connection Steps
a) Display Interface
- MIPI DSI / LVDS – Often requires correct pin mapping in the board’s device tree.
- HDMI – More plug-and-play but less common for compact embedded designs.
b) Touch Controller
- I²C – Common for capacitive touch; requires proper kernel driver binding.
- USB – Usually HID-compliant and detected automatically by Android.
Ensure all connections are secure, and use proper shielding to minimize signal interference.
4. Software Configuration in Android
a) Kernel and Driver Setup
If your display or touch controller is not recognized, you may need to:
- Enable the relevant driver in the Android kernel configuration.
- Modify the device tree to match the hardware connections.
- Calibrate touch coordinates using Android’s input subsystem.
b) UI Scaling and Orientation
Once detected, you may need to adjust:
- DPI settings to match the screen’s physical size.
- Rotation parameters for portrait or landscape layouts.
- Touch calibration if input does not align with the display.
5. Testing and Troubleshooting
After integration:
- Test with simple Android touch test apps.
- Check for ghost touches or missed inputs.
- Measure latency to ensure smooth gestures.
If you experience instability, double-check power supply stability and update your Android firmware to include the latest driver patches.
6. Enhancing User Experience
Beyond basic functionality, consider:
- Anti-glare or anti-fingerprint coatings for better visibility.
- Optical bonding to improve contrast and reduce reflections.
- Custom UI design optimized for touch navigation.
For developers building rich interactive interfaces, ARM-Based Android SBCs offer an excellent platform with robust multimedia capabilities and responsive touch support.
7. Real-World Applications
- Smart Home Panels – Wall-mounted Android SBCs with capacitive touch for controlling lighting, security, and HVAC systems.
- Industrial HMIs – Rugged designs with glove-friendly touchscreens for factory environments.
- Retail Kiosks – High-brightness displays for outdoor and indoor self-service terminals.
- Medical Devices – Touch interfaces for patient monitoring and diagnostic equipment.
8. Conclusion
Integrating a touchscreen display with your Android SBC requires careful hardware selection, proper connection, and precise software configuration. By choosing compatible components and ensuring driver support, you can create a responsive, reliable, and visually appealing user interface.
With the growing popularity of ARM-based platforms, touchscreen integration is becoming more streamlined—enabling faster development cycles and more interactive devices for industries ranging from retail to industrial automation.
Production Notes and Review Checklist
A useful way to review how to integrate touchscreen displays with your android board is to separate the attractive feature from the production responsibility that comes with it. A board, interface, display, or operating system choice may look simple during a demo, but the final product has to survive repeated boots, power loss, peripheral changes, enclosure heat, and software updates. Those conditions should be part of the article’s practical takeaway, not an afterthought.
For engineering teams, the review should include three records. The first is the hardware record: connector mapping, voltage levels, display timing, power budget, and any thermal measurements taken inside the intended enclosure. The second is the software record: Android build version, kernel changes, device tree changes, permissions, update method, and recovery path. The third is the supplier record: lifecycle expectations, lead time, change notice process, and who is responsible when a driver or firmware issue appears.
This matters because embedded Android products often fail in small, ordinary ways. A USB scanner may enumerate slowly after a cold boot. A serial adapter may work on a short cable but fail near a motor drive. A display may look correct on the bench but wake inconsistently after sleep. A firmware update may be safe in the office but risky when a field unit loses power. None of these issues make the platform unsuitable; they simply need to be tested before the design is frozen.
Before production, run a short validation pass with the real display, real power source, real enclosure, and all expected peripherals connected at the same time. Leave the device running long enough to expose heat and memory behavior. Reboot it from cold power. Disconnect the network. Fill part of the storage. Confirm that logs are available when something fails. This kind of checking is not glamorous, but it is the difference between a promising prototype and a product that support teams can stand behind.
Practical Deployment Considerations
The final decision should also include maintenance. A device that works well during a sales demonstration can still create problems if technicians cannot identify the board revision, firmware build, display model, or cable orientation in the field. Put this information in the service record and, where appropriate, expose a read-only diagnostics screen inside the Android application. That screen does not need to be elaborate. It should show software version, network state, storage condition, uptime, display mode, and the status of major peripherals.
For long-running products, define what will trigger a redesign. It may be an end-of-life notice, a memory substitution, an Android security requirement, or a new display supplier. Without that rule, teams tend to redesign too late, when purchasing pressure is already high. A planned migration path gives engineering time to test alternatives without rushing a production order.
Finally, keep the acceptance test close to the real use case. If the product is touched all day, test touch all day. If it plays video, test the real playlist. If it communicates with machines, test real cable lengths and noisy power. Embedded Android products become reliable when the validation environment stops being polite and starts looking like the field.